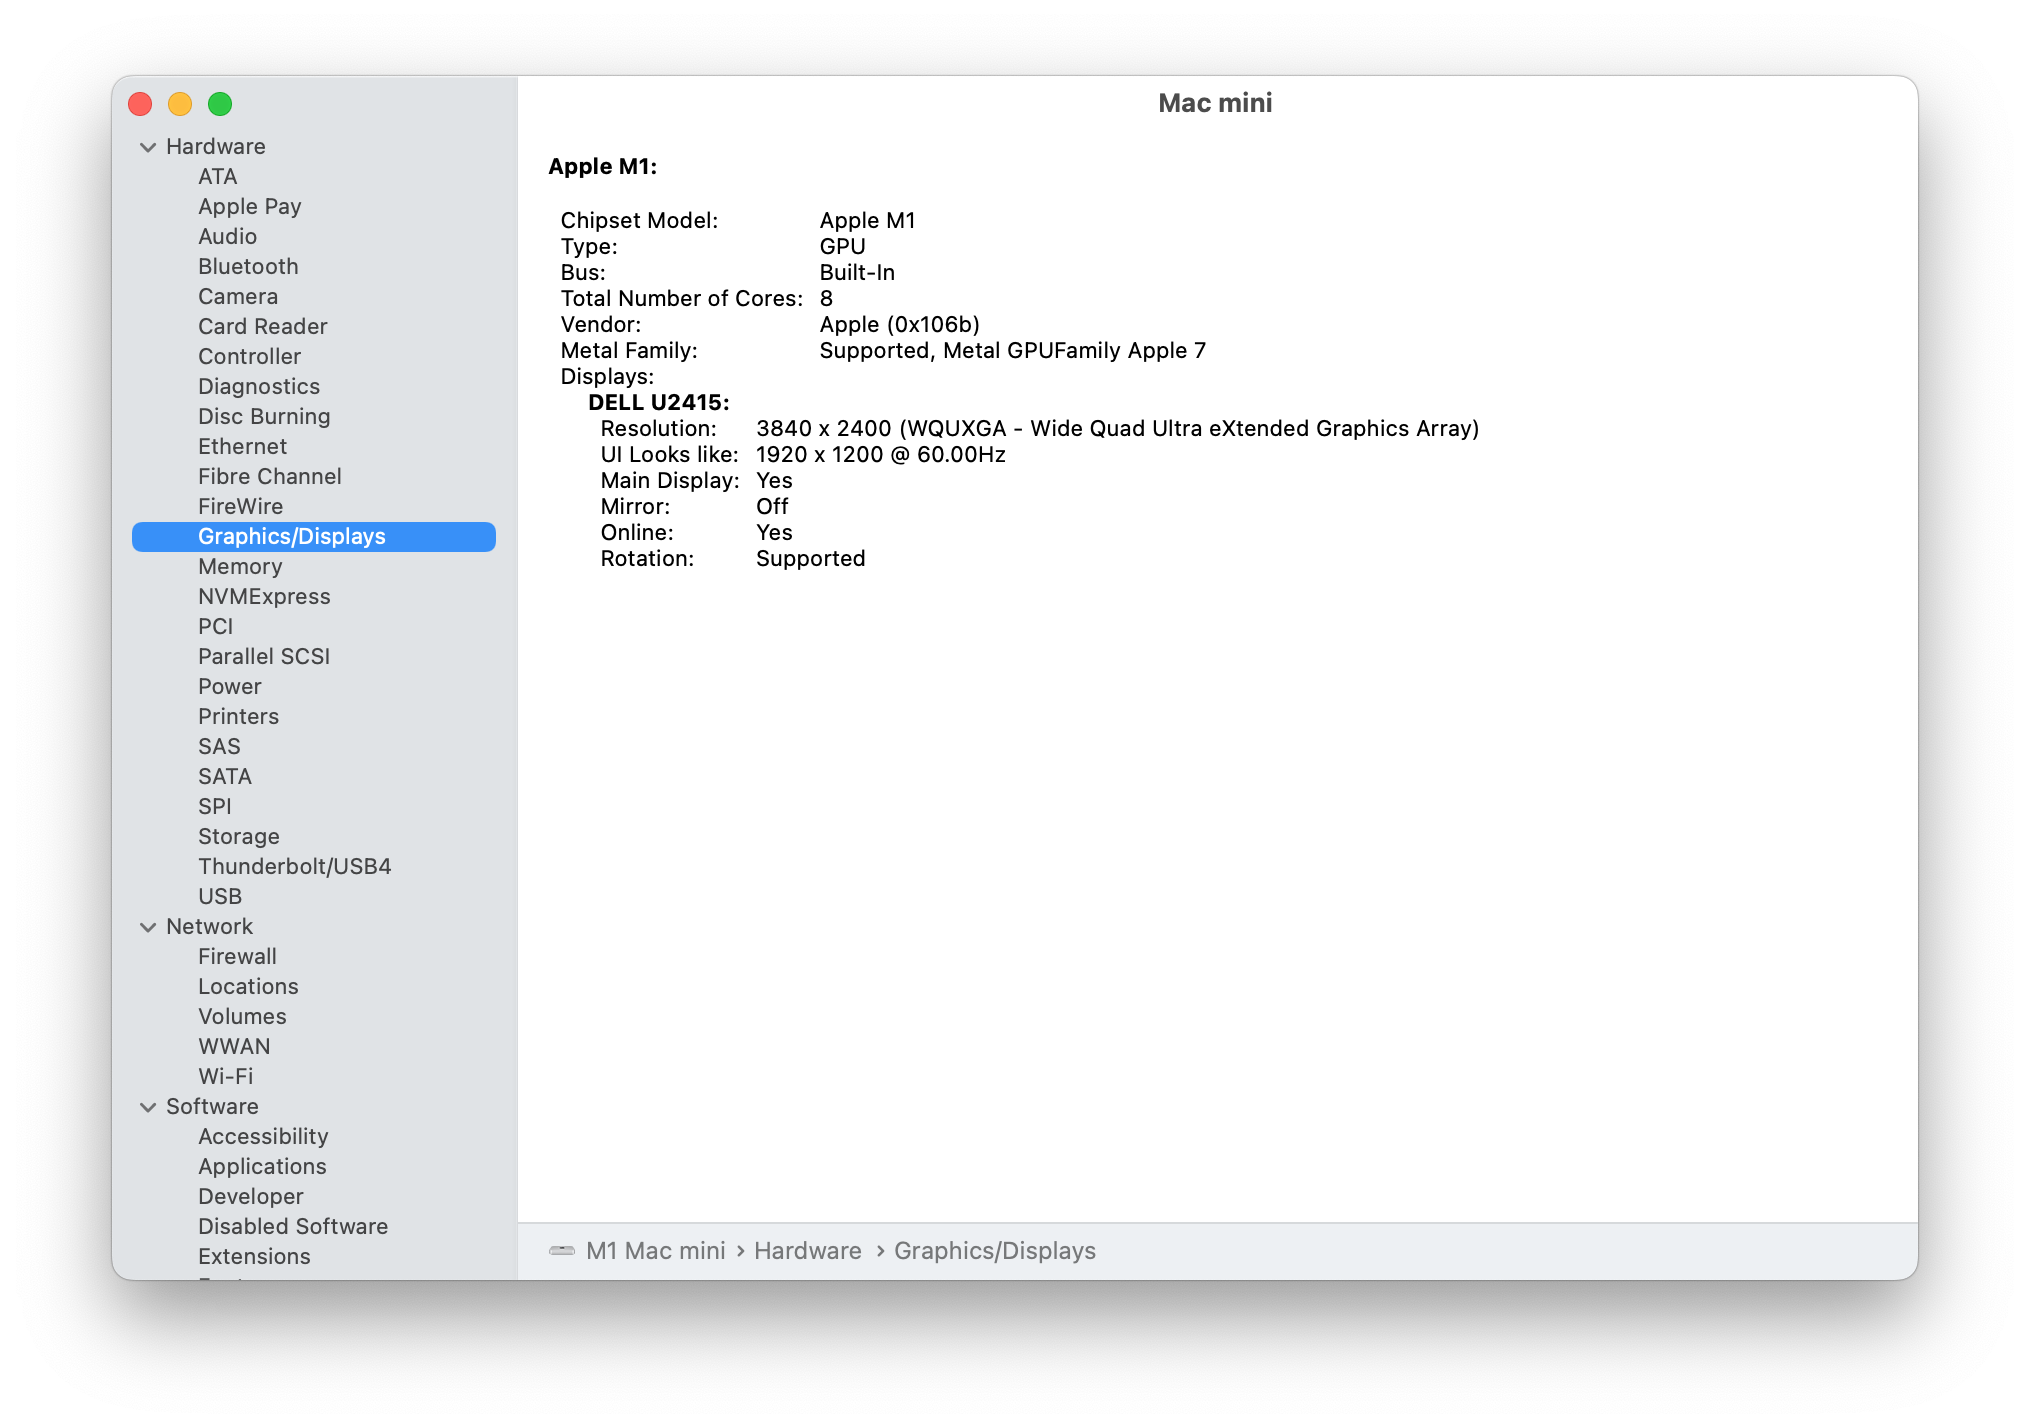
I have some interesting news: I found a solution to enable HiDPI on M1 based Macs on any resolution, even on 1080p screens, without the need to use mirroring or other workarounds.
Here is an example of HiDPI running on a Dell U2415 monitor that only supports a maximum resolution of 1920x1200:

What you need to do is to edit the com.apple.windowserver.displays.plist file located in
/Library/Preferences/com.apple.windowserver.displays.plist
and change the key <key>Scale</key> to have a value of 2.
This is an example of how the section in the displays plist file should look like after the change:
					<key>CurrentInfo</key>
					<dict>
						<key>Depth</key>
						<integer>8</integer>
						<key>High</key>
						<real>1200</real>
						<key>Hz</key>
						<real>60</real>
						<key>IsLink</key>
						<false/>
						<key>OriginX</key>
						<real>0.0</real>
						<key>OriginY</key>
						<real>0.0</real>
						<key>Rotation</key>
						<integer>0</integer>
						<key>Scale</key>
						<real>2</real>
						<key>Wide</key>
						<real>1920</real>
					</dict>
Make sure that you change only the Scale key for the monitor that you need, and nothing else.
You can follow the step-by-step video tutorial on how to make the changes in the displays plist file here:
https://www.youtube.com/watch?v=Z1EqH3fd0V4
After that, restart your Mac and you should get HiDPI and noticeably more crisp and anti-aliased text, and the high resolution macOS icons.
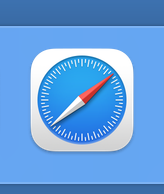
An easy way to confirm that the HiDPI changes work is by looking at the Safari icon on the dock. If the HiDPI version of the icon is enabled, it will have a lot more sections in the compass than the low resolution icon. It should look something like this:

Please note that while this might make the image look better even on 1080p screens, they will still be running at 1080p resolution, so the change might not be as drastic as running on a higher resolution screen.
If you have any questions about the procedure, please feel free to contact me or comment below.